
Trail cameras have changed the way hunters scout whitetails.
Instead of relying only on tracks, rubs, scrapes, and personal observations, today’s hunters can collect weeks—or even months—of information without sitting in a stand.
But one common mistake keeps many trail cameras from reaching their full potential.
Placement.
Two cameras with identical settings can produce completely different results simply because one was mounted in the right location and the other wasn’t.
Height, angle, distance, sunlight, travel direction, vegetation, and seasonal movement all influence the quality of the information you collect.
The goal isn’t just to capture photos.
It’s to capture useful information that helps you make better hunting decisions.
Start With a Purpose
Before hanging a camera, ask one question:
What am I trying to learn?
Different objectives require different locations.
For example:
- Identifying travel routes
- Monitoring food sources
- Watching scrapes
- Checking bedding area edges
- Estimating herd inventory
- Tracking daylight movement
One camera cannot answer every question at once.
Knowing your objective helps determine the best setup.
Focus on Travel, Not Just Destinations
Many hunters place cameras directly over food plots or feeders.
That certainly captures deer.
But it doesn’t always explain how deer reach those locations.
Travel corridors often provide more valuable information.
Look for:
- Creek crossings
- Fence gaps
- Narrow timber strips
- Logging roads
- Saddle crossings
- Funnel areas
- Brushy field corners
Movement patterns usually remain more consistent than feeding behavior.
Camera Height Matters
Mounting a camera too low may increase false triggers from grass and brush.
Too high, and smaller deer or animals close to the camera may fall outside the detection zone.
A general rule is to position the camera at approximately chest height on the tree, then make small adjustments based on terrain and expected travel direction.
Always verify the framing by walking through the detection area before leaving the site.
Angle the Camera Instead of Pointing Straight Across
Many hunters point a camera directly across a trail.
That often produces blurred images because deer move through the frame quickly.
Instead, angle the camera slightly along the trail.
This keeps animals in view longer and often produces clearer photos with more useful details.
Think About Sunlight
Direct morning or evening sunlight can reduce image quality and trigger false photos.
Whenever practical:
- Avoid aiming directly east or west.
- Use surrounding trees to block harsh light.
- Check how the sun reaches the location during the season you plan to scout.
Small changes in orientation can dramatically improve photo quality.
Vegetation Changes Throughout the Season
A perfect summer setup may become unusable by September.
Grass grows.
Leaves expand.
Branches sag.
Weeds appear.
Inspect the area around your camera before leaving.
Trim only where legal and appropriate, and avoid creating obvious disturbance that could alert deer or attract attention from other hunters.
Don’t Overlook Secondary Trails
The largest trail isn’t always the most valuable.
Mature bucks often avoid the obvious route used by does and younger deer.
Watch for:
- Faint trails inside thicker cover
- Parallel paths
- Creek edges
- Terrain benches
- Brush transitions
These subtle routes frequently reveal daylight movement by older deer.
Bedding Area Cameras Require Caution
Placing cameras close to bedding cover can provide excellent information.
It can also educate deer if checked too often.
Reduce disturbance by:
- Limiting visits
- Checking cameras during poor weather
- Using favorable wind
- Entering during the middle of the day when appropriate
Information loses value if collecting it changes deer behavior.
Scrapes Can Be Excellent Camera Locations
Community scrapes often receive visits from multiple bucks.
Position the camera far enough away to avoid spooking deer but close enough to capture identifying features.
Look for:
- Overhanging licking branches
- Fresh pawed soil
- New tracks
- Recent droppings
Monitor changes throughout the season.
Food Sources Change
Corn.
Soybeans.
Acorns.
Persimmons.
Brassicas.
Natural browse.
Food availability changes constantly.
Move cameras when food patterns change.
A camera producing excellent summer information may become irrelevant after harvest or mast drop.
Minimize Human Scent
Every camera check leaves scent.
Wear clean boots.
Use the wind.
Limit unnecessary visits.
Modern cameras with long battery life and large memory cards make frequent trips unnecessary.
Collect information without constantly disturbing the area.
Weather Creates New Opportunities
Rain softens the ground and reveals fresh tracks.
Wind may reduce hunter activity.
Cool fronts often change deer movement.
These moments can be ideal times to reposition or check cameras while minimizing additional disturbance.
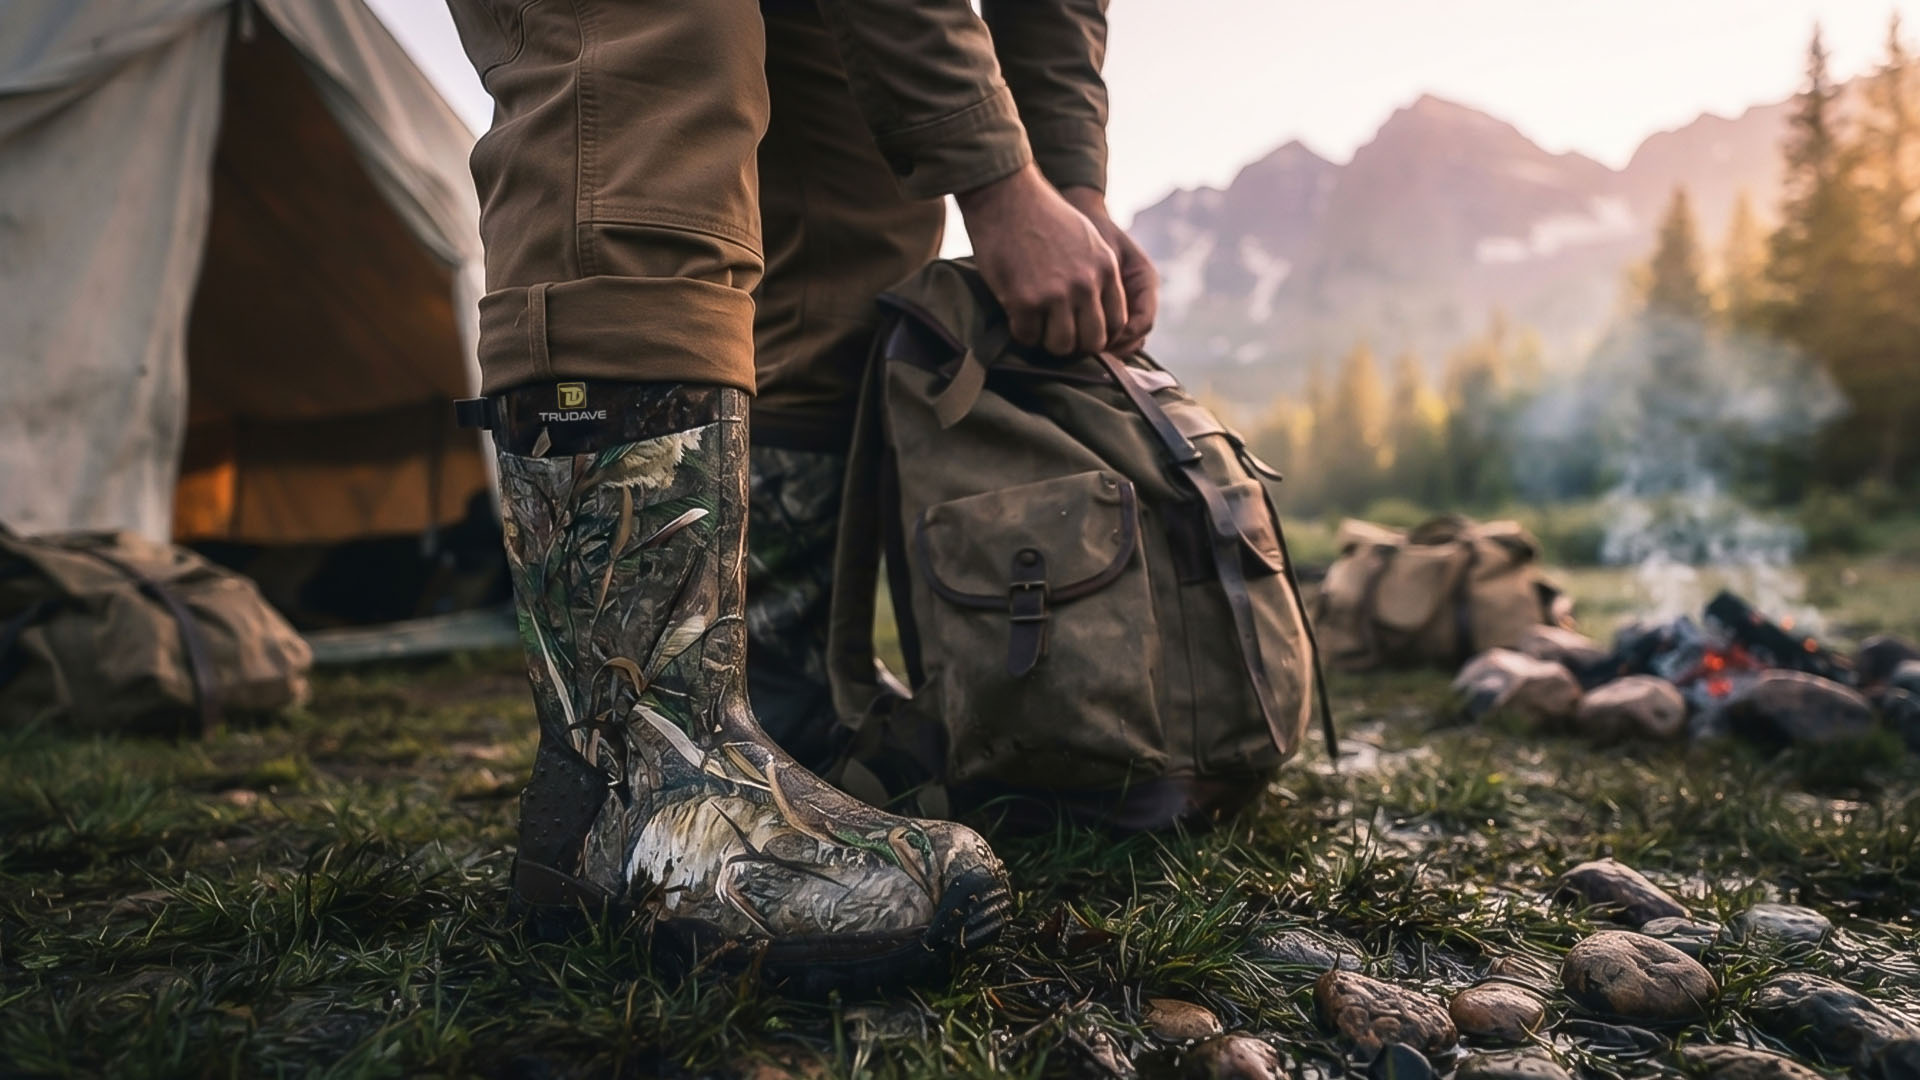
Hunters covering muddy logging roads, creek crossings, and thick timber during preseason scouting often appreciate waterproof hunting boots for preseason scouting that keep feet dry while allowing long hours of comfortable walking.
Use Multiple Cameras Strategically
Instead of placing every camera over one food source, spread them across different habitat features.
One camera might monitor:
- Travel
- Feeding
- Bedding edge
- Scrapes
- Funnels
Comparing movement between locations creates a much clearer picture than relying on a single camera.
Don’t Chase Every Photo
A mature buck appearing once at 2:00 a.m. doesn’t automatically justify moving your stand.
Look for patterns.
Repeated timing.
Wind conditions.
Travel direction.
Weather.
One photo is interesting.
A consistent pattern becomes huntable information.
Check Cameras Efficiently
Avoid lingering.
Swap memory cards quickly.
Replace batteries if needed.
Leave immediately.
Long scouting sessions create unnecessary disturbance.
Efficiency protects future hunting opportunities.
Common Trail Camera Mistakes
Mounting Cameras Too High
Important movement may fall below the detection zone.
Pointing Directly Across Trails
Animals pass too quickly through the frame.
Ignoring Seasonal Habitat Changes
Vegetation grows and food sources change.
Checking Cameras Too Frequently
Repeated disturbance can alter deer movement.
Hunting Every Camera Location
Some cameras should remain scouting tools rather than immediate stand locations.
Forgetting About Wind
Camera checks leave scent.
Plan every visit carefully.
Depending on One Camera
Multiple locations create a much more complete understanding of deer movement.
Frequently Asked Questions
Where should a trail camera be placed for deer?
Travel corridors, funnels, creek crossings, scrapes, and feeding transitions often provide valuable information depending on your scouting objective.
How high should a trail camera be mounted?
Many hunters begin around chest height and adjust based on terrain, vegetation, and expected deer movement.
Should cameras face north?
Orientation depends on local conditions, but avoiding direct sunrise and sunset often improves image quality.
How often should you check trail cameras?
As infrequently as practical while still collecting useful information. Reducing disturbance generally improves long-term scouting results.
Is one trail camera enough?
One camera can provide useful information, but multiple cameras covering different habitat features usually produce a more complete understanding of deer movement.
Final Thoughts
A trail camera is more than a device that takes pictures.
It’s a scouting tool.
Used correctly, it reveals patterns that tracks alone cannot.
The best camera placement begins with a clear objective.
Study terrain.
Think about travel routes.
Respect bedding areas.
Pay attention to seasonal food changes.
Limit disturbance.
And remember that successful scouting isn’t measured by the number of photos on your memory card.
It’s measured by how well those photos help you understand when, where, and why deer move through your hunting property.
