
The basin looks empty.
You have scanned every open hillside, checked the edges of the timber, and studied the shadows beneath each rocky point.
Nothing moves.
After ten minutes, you pack the binoculars away and begin hiking toward the next ridge.
An hour later, another hunter spots a mature mule deer buck in the same basin.
The buck had been bedded beneath a small juniper the entire time.
You looked directly at him.
You simply did not recognize what you were seeing.
This is one of the most common mistakes in western deer hunting.
Hunters assume successful glassing means covering as much country as possible. They sweep binoculars across entire mountainsides, pause briefly on obvious openings, and move on when no antlers appear.
Effective glassing works differently.
It is less about looking at more country and more about studying promising pieces of country long enough for hidden details to become visible.
Mule deer do not always stand in the open.
They bed beneath brush, disappear into shadows, expose only part of an ear, or remain motionless against terrain that matches their coat almost perfectly.
Learning how to glass patiently and methodically can save miles of unnecessary hiking and help hunters locate deer that appear invisible at first glance.
Start With the Best Vantage Point You Can Reach Quietly
A good glassing location should provide visibility without unnecessarily exposing the hunter.
The highest point is not automatically the best point.
A skyline position may allow you to see farther, but it can also make you visible to deer across an entire basin.
Look for locations that provide:
- A wide view of likely habitat
- Natural cover behind your position
- Protection from strong wind
- A stable place to sit
- Safe access before daylight
- A route that avoids crossing likely deer movement
Rocky outcrops, shaded sidehills, small benches, and points below the skyline can all provide effective glassing positions.
The best location allows you to watch deer without announcing your arrival.
Arrive Before the Deer Become Visible
Western hunters often wait until daylight before climbing toward a glassing point.
That creates two problems.
First, the approach may become visible to animals already feeding in open terrain.
Second, the hunter may miss the short period when deer move from feeding areas toward bedding cover.
Whenever conditions and regulations allow, arrive early enough to settle into position before usable light.
Organize your equipment.
Allow your breathing to return to normal.
Let the area become quiet.
Then begin glassing as the landscape gradually becomes visible.
Use Your Eyes Before Your Optics
Do not immediately raise binoculars and begin scanning.
Start with your unaided eyes.
Look for obvious movement.
Watch open slopes, ridgelines, field edges, and large habitat transitions.
This initial scan helps identify areas that deserve immediate attention.
It also reduces the chance of focusing so tightly through binoculars that you miss a deer crossing a nearby opening.
Once you understand the overall landscape, begin using optics more methodically.
Divide the Landscape Into Sections
A large basin can feel overwhelming.
Trying to study everything at once usually results in studying nothing carefully.
Break the landscape into smaller sections.
For example:
- The lower feeding area
- The brushy transition above it
- The rocky middle slope
- The timber edge
- The upper benches
- The shaded ridge points
Complete one section before moving to the next.
Within each section, scan from left to right and then back again.
Use overlapping fields of view so you do not leave unexamined gaps.
A structured system is slower than sweeping across the mountain.
That is why it works.
Look for Parts of Deer, Not Whole Deer
Hunters often expect to see a complete animal standing broadside.
Mule deer rarely make it that easy.
A bedded buck may reveal only:
- One ear
- Part of an antler
- The horizontal line of its back
- A patch of gray hair
- The white area around its face
- The dark line of its nose
- A shadow that moves against the brush
Train yourself to recognize shapes that do not match the surrounding terrain.
Straight lines deserve attention because nature contains relatively few of them.
The line of a back, leg, or antler can stand out once you stop searching only for an entire deer.
Movement Is Often the First Clue
A stationary mule deer can blend almost perfectly into western terrain.
Small movements reveal it.
Watch for:
- An ear turning
- A head lifting
- Antlers moving behind brush
- A tail flick
- A leg changing position
- A shadow shifting independently of the wind
Do not assume every movement comes from vegetation.
Return to the location and watch it carefully.
Sometimes the difference between a rock and a deer becomes obvious only after several minutes.
Glass the Shadows
Bright open slopes attract attention.
Shadows often hold deer.
As the morning warms, mule deer may move toward shaded cover before bedding.
Look beneath:
- Junipers
- Pinyon pines
- Rock overhangs
- Cliffs
- Brushy cuts
- Timber edges
- North-facing slopes
Adjust your binoculars or spotting scope to reveal details inside dark cover.
The correct focus and eye position can make a major difference.
A shaded location that appears completely black at first may contain several bedded deer.
Check the Edges Before the Middle
Habitat edges often provide more value than large uniform areas.
Mule deer may use the transition between:
- Open sage and timber
- Burns and unburned forest
- Grass and brush
- Agricultural ground and native cover
- Rock and vegetation
- Snow and exposed ground
Edges provide food, visibility, and nearby security.
Begin by studying these transitions carefully.
A large open slope may hold deer, but the brushy strip along its upper edge may be more likely to conceal a mature buck.
Understand Where Mule Deer Prefer to Bed
Bedding choices vary by season, temperature, weather, pressure, and terrain.
Common bedding locations may include:
- Brushy benches
- Shaded sidehills
- Points with visibility below
- Small patches of timber
- Rock outcrops
- Leeward slopes
- Areas below ridge crests
- Cover near feeding areas
A deer does not need a large forest to disappear.
One small juniper or patch of mountain brush may provide enough shade and concealment.
When you locate likely bedding terrain, slow down and examine every piece of cover.
Watch the Same Location More Than Once
A section that appears empty at sunrise may reveal deer later.
Light changes.
Shadows move.
Animals stand, feed, stretch, or reposition.
Return to promising areas throughout the glassing session.
Do not assume a single scan is final.
A buck hidden behind brush may become visible when sunlight reaches the slope.
A bedded deer may stand for only a few seconds before lying down again.
Repeated observation creates opportunities that impatient hunters miss.
Let Your Optics Rest
Long glassing sessions can create eye fatigue.
Details become harder to recognize.
Hunters begin scanning faster and paying less attention.
Take short breaks.
Look at distant scenery without magnification.
Close your eyes briefly.
Drink water.
Adjust your sitting position.
Then return to the optics.
A rested hunter notices more than an exhausted one staring continuously through binoculars.
Stabilize Your Binoculars
Handheld binoculars work for quick scanning.
Extended glassing becomes more effective when the image remains stable.
A tripod allows hunters to study small details without constant movement.
It can also reduce eye strain.
When using a tripod:
- Adjust it to a comfortable height
- Sit in a stable position
- Keep movements slow
- Avoid repeatedly touching the optic
- Use a smooth scanning pattern
Even moderate-power binoculars can reveal significantly more detail when properly stabilized.
Use a Spotting Scope to Confirm, Not Discover Everything
A spotting scope provides additional magnification, but its narrow field of view can make locating animals difficult.
Begin with binoculars.
Use them to find suspicious shapes, movement, or groups of deer.
Then switch to the spotting scope to evaluate:
- Antler size
- Body characteristics
- Number of animals
- Bed location
- Potential approach routes
- Nearby obstacles
Trying to search an entire mountain through maximum magnification can become slow and frustrating.
Use each optic for the job it performs best.
Glass Into the Wind When Possible
Wind can affect both deer behavior and hunter comfort.
Positioning yourself with the wind in your favor reduces the chance of scent reaching deer below or across the basin.
However, strong wind also creates vibration in optics and increases fatigue.
Use terrain, rocks, vegetation, or a low-profile shelter to reduce exposure.
Always monitor local air movement.
Mountain winds can shift quickly, especially near ridges and drainages.
Do Not Hike Just Because You Have Not Found Deer Yet
Walking feels productive.
Sitting behind binoculars can feel passive.
This causes hunters to leave good vantage points too soon.
Before moving, ask:
- Have I studied every likely bedding feature?
- Has the light changed enough to justify another scan?
- Did I check the shadows?
- Did I return to suspicious shapes?
- Have deer had time to move?
- Can another vantage point actually show new terrain?
Moving should have a clear purpose.
Do not trade a productive glassing position for extra miles simply because patience feels uncomfortable.
Identify the Exact Location Before Beginning a Stalk
Spotting a deer is only the first step.
Western terrain can make distances and locations difficult to judge.
A buck visible from two miles away may disappear completely once the hunter enters the basin.
Before leaving the glassing point, identify several reference features.
Look for:
- A distinctive rock
- An isolated tree
- A vegetation boundary
- A drainage
- A saddle
- A strip of snow
- A cliff band
- A change in slope
Take photographs through the optic when legal and practical.
Mark approximate positions on a mapping application.
Build a mental route before moving.
Watch the Deer Long Enough to Understand Its Behavior
Do not begin a stalk immediately after finding a buck.
Observe it.
Determine whether the deer is:
- Feeding
- Traveling
- Preparing to bed
- Already bedded
- Following other deer
- Alert
- Moving toward private land
- Being disturbed by hunters or predators
A bedded buck may provide time for a careful approach.
A traveling buck may require a different strategy.
Understanding behavior prevents hunters from rushing into a situation that is about to change.
Consider the Wind for the Entire Stalk
The wind at the glassing point may not match the wind inside the basin.
Terrain redirects air.
Thermals rise as slopes warm and fall as they cool.
Drainages collect cold air.
Ridges create turbulence.
Plan several possible routes.
Continue checking wind throughout the approach.
A physically easy route that sends scent toward the deer is not the best route.
Account for What the Deer Can See
Mule deer survive in open country by using their eyes.
A successful stalk should take advantage of:
- Ridges
- Rock formations
- Drainages
- Brush
- Timber
- Elevation changes
- The shape of the slope
Avoid walking across open terrain visible from the deer’s bed.
A route that appears indirect on the map may provide far better concealment.
Stay below ridgelines.
Move slowly when entering the final approach.
Western Stalks Require Appropriate Footwear
A glassing location may be comfortable.
The stalk rarely is.
Western mule deer terrain can involve loose rock, wet grass, mud, snow, creek crossings, sidehills, and steep elevation changes within the same day.
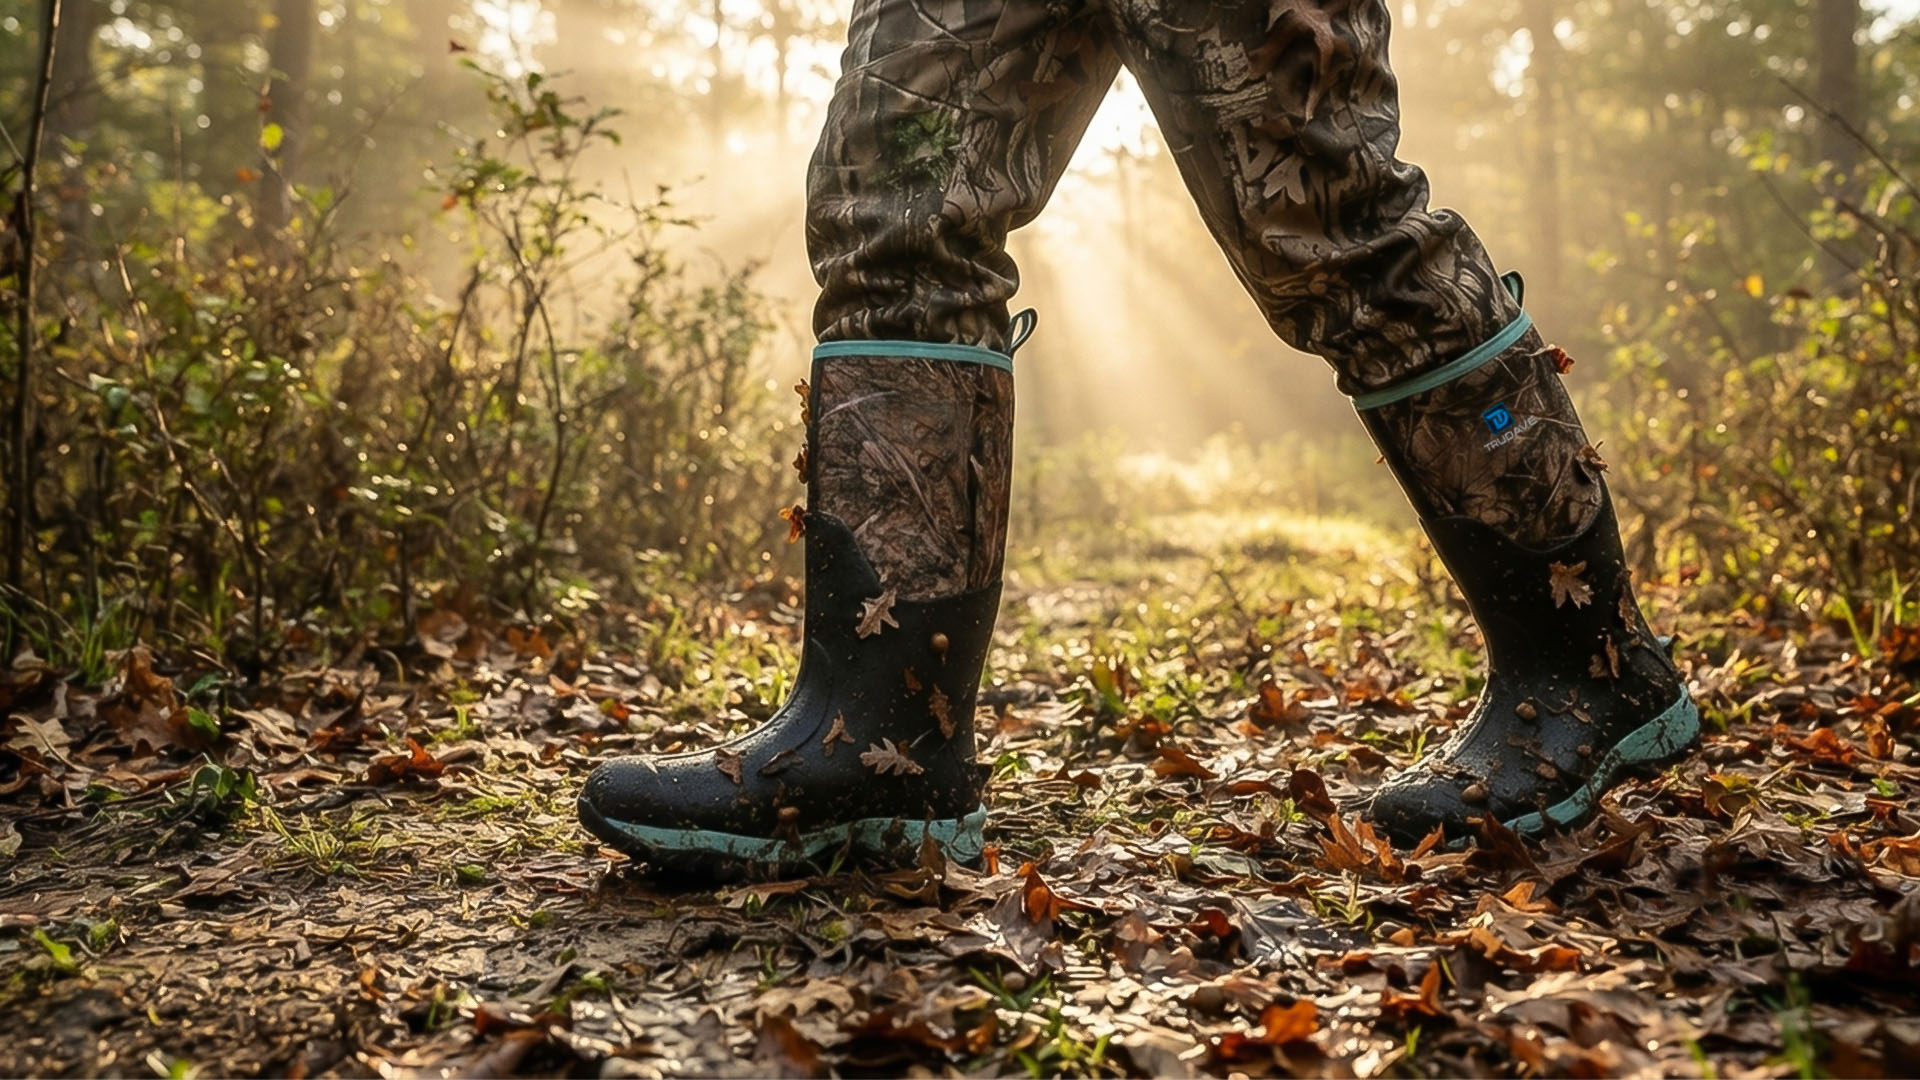
Hunters making long approaches may benefit from waterproof hunting boots for western spot-and-stalk hunting that provide secure heel retention, dependable traction, and enough support for uneven terrain.
The correct boot depends on season and location.
Heavy insulation may be unnecessary during warm, high-activity hunts.
Fit and walking comfort should remain priorities.
Avoid Destroying Your Feet on the Approach
Blisters can end a hunt faster than poor glassing.
Before the season:
- Break in footwear
- Test socks
- Walk steep terrain
- Carry your hunting pack
- Check downhill toe room
- Address heel movement
During the hunt, stop when you feel a hot spot.
Use tape, blister treatment, or dry socks before the problem becomes severe.
A stalk may cover only two miles on the map but require significant climbing and sidehill travel.
Carry Less Than You Think You Need
A heavy pack makes every stalk slower and louder.
At the glassing point, organize only the equipment required for the approach.
Depending on the situation, essentials may include:
- Weapon and ammunition
- Rangefinder
- Optics
- Water
- Navigation
- First-aid supplies
- Game-processing equipment
- Weather protection
Do not leave critical safety equipment behind.
But avoid carrying unnecessary items simply because they fit in the pack.
Check the Original Bed After Reaching the Area
Even a carefully watched deer may move during the stalk.
When you reach the final position, relocate the exact bed or feeding area before exposing yourself.
Look for reference features identified from the glassing point.
Use binoculars.
Move slowly.
The deer may still be present but hidden from the new angle.
Do not assume it left simply because you cannot see it immediately.
Be Prepared to Back Out
A stalk can fail before the deer knows you are there.
Wind changes.
Another animal becomes alert.
The buck moves into an unhuntable location.
Visibility disappears.
Backing out is not failure.
Forcing a poor approach can educate the deer or push it into another drainage.
Preserve the opportunity when conditions are no longer favorable.
Glass Again After a Failed Stalk
If the deer leaves, return to a vantage point when practical.
Mule deer may stop after crossing a ridge or entering cover.
Watch likely escape routes.
Study nearby basins.
The hunt may not be over.
Information gathered during the first encounter can improve the next attempt.
Common Mule Deer Glassing Mistakes
Scanning Too Fast
Slow down and study small sections thoroughly.
Looking Only for Complete Deer
Search for ears, antlers, backs, shadows, and movement.
Ignoring Shaded Cover
Bedded deer often use shadows and brush.
Leaving a Good Vantage Point Too Soon
Repeated observation may reveal deer later.
Using Too Much Magnification Immediately
Start with binoculars and use a spotting scope for confirmation.
Beginning a Stalk Without Reference Points
Terrain looks different after leaving the glassing position.
Ignoring Wind Inside the Basin
Mountain airflow changes with terrain and temperature.
Moving Simply to Feel Productive
Every hike should provide a clear advantage.
Frequently Asked Questions
What is the best way to glass for mule deer?
Use a stable vantage point, divide the terrain into small sections, scan methodically, study shadows and habitat edges, and return to promising areas as light changes.
What time of day is best for glassing mule deer?
Early morning and evening commonly provide visible feeding and travel activity. Midday glassing can still reveal bedded deer, especially when hunters study shaded cover carefully.
Where should you look for bedded mule deer?
Check brushy benches, shaded sidehills, small timber patches, leeward terrain, rock outcrops, ridge points, and cover near feeding areas.
Are binoculars or a spotting scope better for mule deer hunting?
Binoculars are generally more effective for locating deer because they provide a wider field of view. A spotting scope is useful for evaluating animals and studying specific details.
How long should you glass one area?
There is no fixed time. Promising terrain may require repeated observation over an hour or more as light and animal movement change.
Why are mule deer difficult to see?
Their coloring blends with western terrain, and bedded deer may expose only small parts of their bodies while remaining motionless in shade or brush.
Final Thoughts
Successful mule deer glassing is not a race to look at the most terrain.
It is a test of patience and attention.
Choose a useful vantage point.
Break the landscape into manageable sections.
Stabilize your optics.
Study the shadows.
Look for small movements.
Return to likely bedding areas as the light changes.
And resist the urge to start hiking simply because the first scan did not reveal a buck.
A mule deer can remain hidden in plain sight for hours.
The hunter who finds it is usually not the one who scanned the mountain fastest.
It is the one who stayed long enough to notice that one small part of the landscape did not move like everything around it.
